
How to Prepare Walls for Wallpapering
Are you ready to transform your space with beautiful wallpaper? Before you start hanging those rolls, it's crucial to properly prepare your walls. Taking the time to prepare the wall surface will ensure a smooth and long-lasting application. In this guide, we will walk you through the step-by-step process of preparing your wall for wallpaper.

1. Assess the Condition of Your Wall
Begin by inspecting your wall for any imperfections such as cracks, holes, or loose paint. Repair any damages using spackle or filler, and sand the surface until it's smooth. This will create a solid foundation for your wallpaper.
2. Clean the Wall Surface
Next, remove any dirt, dust, or grease from the wall. Use a mild detergent mixed with warm water and a sponge to gently clean the surface. Rinse the wall with clean water and allow it to dry completely before proceeding.
3. Remove Old Wallpaper
If you have existing wallpaper, it's essential to remove it before applying a new one. Start by scoring the old wallpaper with a scoring tool to allow the removal solution to penetrate. Apply a wallpaper removal solution and let it sit for the recommended time. Then, use a scraper to carefully peel off the old wallpaper.
4. Prime the Wall
Priming the wall is an important step to ensure proper adhesion of the wallpaper. Apply a coat of high-quality primer using a roller or brush. Allow the primer to dry according to the manufacturer's instructions.
5. Smooth the Surface
To achieve a flawless wallpaper application, it's crucial to have a smooth wall surface. Use sandpaper or a sanding block to gently smooth any remaining imperfections or rough areas. Wipe away any dust with a damp cloth.
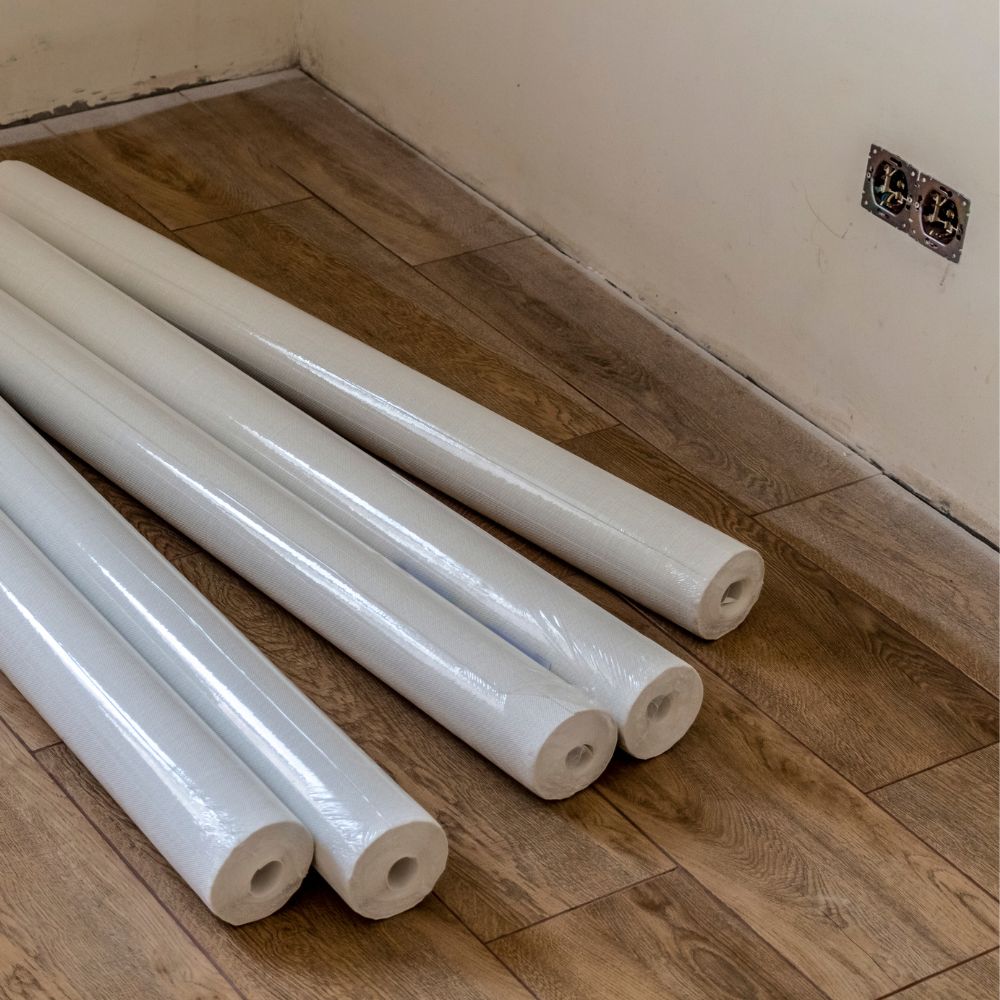
6. Measure and Cut the Wallpaper
Before hanging the wallpaper, carefully measure the height of your wall and add a few extra inches for trimming. Use a sharp utility knife or scissors to cut the wallpaper into manageable strips, ensuring they match the pattern if applicable.
7. Apply Wallpaper Adhesive
Follow the manufacturer's instructions to mix the wallpaper adhesive. Apply the adhesive to the back of the wallpaper using a roller or brush, ensuring even coverage. Be sure to work in small sections to prevent the adhesive from drying out.
8. Hang the Wallpaper
Starting from the top, carefully position the first strip of wallpaper onto the wall. Use a wallpaper smoother or a clean, damp sponge to smooth out any air bubbles or wrinkles. Continue hanging the remaining strips, aligning the patterns as you go.
9. Trim Excess Wallpaper
Once the wallpaper is hung, use a sharp utility knife or scissors to trim any excess along the edges and corners. Take your time to achieve clean and precise cuts.
10. Allow the Wallpaper to Set
After hanging the wallpaper, allow it to set and dry according to the manufacturer's instructions. This will ensure a secure bond and prevent any lifting or peeling.
By following these step-by-step instructions, you'll be well on your way to achieving a professional-looking wallpaper installation. Remember, proper wall preparation is the key to a successful and long-lasting result. Happy decorating!